
PhotoRec field manuals
These checkpoints mirror what seasoned operators do: confirm hardware, isolate the sick disk, steer outputs elsewhere, then audit what came back.
Checkpoint A — pick the device
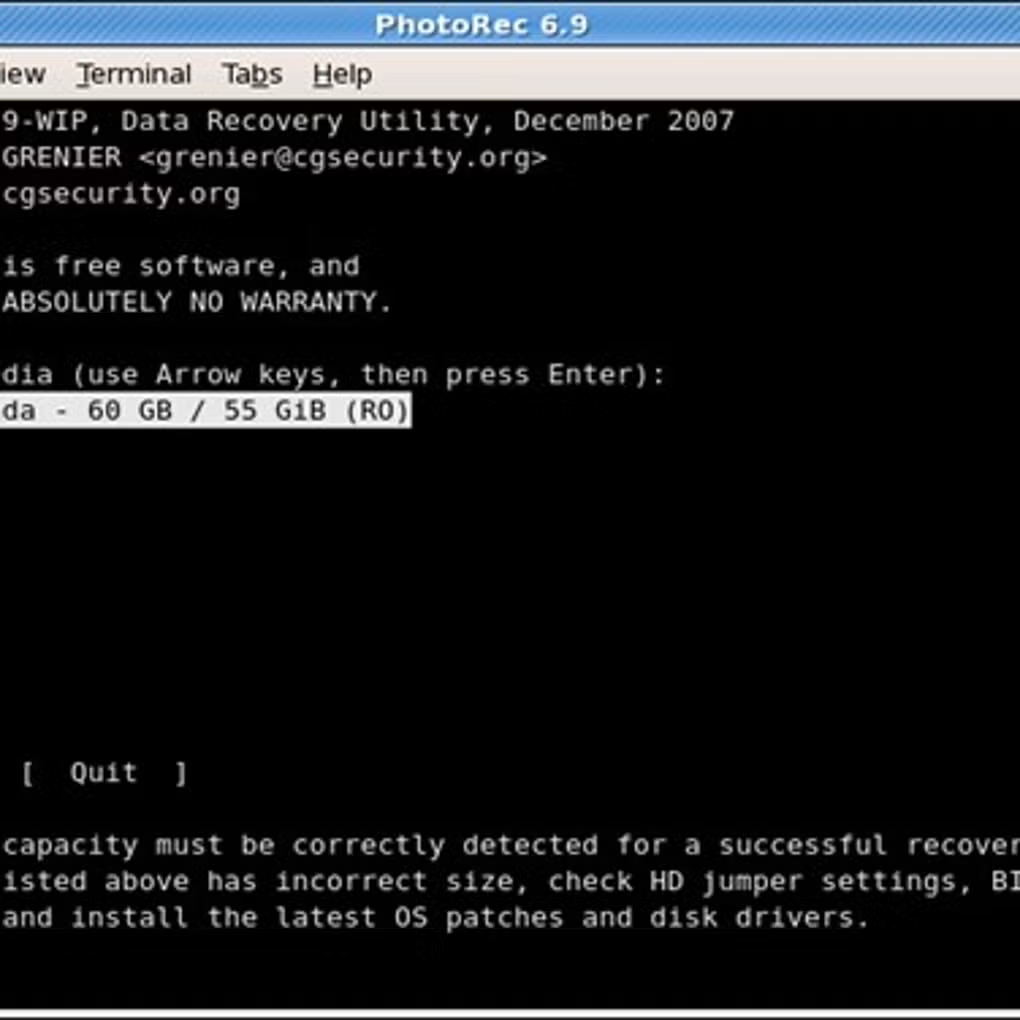
Launch PhotoRec/QPhotoRec and map the listed capacities to physical hardware. When in doubt, detach unrelated drives to reduce mis-clicks.
Checkpoint B — scope the surface
Choose a partition when metadata is trustworthy; fall back to whole-disk mode when tables vanished or were reformatted.
Checkpoint C — tune signatures
Enable the families you need—photos, audio, office, archives—and skip noise to shorten runtimes on huge platters.
Checkpoint D — park outputs safely
Bind the destination to a different physical disk or network share so recovered bytes never bounce back onto the patient media.
Checkpoint E — run & monitor
Start the session, watch counters, and pause if temperatures or SMART warnings spike—cloning first is always fair game.
Checkpoint F — validate samples
Spot-check revived files, note naming quirks, and log hashes if you owe stakeholders traceability.
Non-negotiable: separate output media
Writing restores atop the source risks permanent clobbering. Budget a spare drive or network vault before you begin.
QPhotoRec tour
The GUI mirrors CLI logic with visual pickers—handy when training teammates or working without a shell.
Cataloging loose files
Expect generic names—carving rarely revives original paths. Sort by extension, approximate size, and timestamps when embedded metadata survives.
When scans disappoint
- Rescan the full device instead of a narrow slice when little appears.
- Freeze the drive read-only or hardware-block writes when possible.
- Avoid installing tools onto the failing disk; run portable builds elsewhere.
- Let TestDisk fix partition scaffolding before another PhotoRec sweep.